8th Grade: Surface Pattern Design
8th Grade: Surface Pattern Name Designs
What is surface pattern design?
Surface pattern design offers a natural link between textiles, graphics and product design. Surface pattern designers create artistic patterns and designs for wallpaper, home furnishings such as curtains, carpet and cushions, giftware and ceramics, cards and wrapping paper and floor coverings, paper, stationary, and fabric for clothing. The textile and fashion industries also rely heavily on surface pattern designers to come up with new and exciting patterns and designs.
To see some actual surface pattern designs, click here:
http://www.spraygraphic.com/ViewProject/9997/normal.html
To see an actual surface pattern design artist, click here:
http://www.rachaeltaylordesigns.co.uk/biography.php
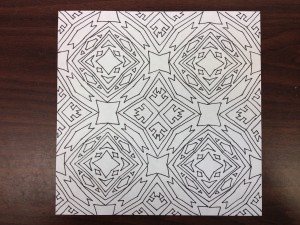
While these design look complex and detailed, each one only contains one student's name!
Can you see the name in each of them?
Here's how the projects is done…
Step 1:
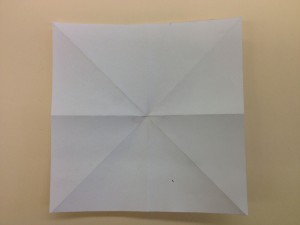
Make sure the paper is square. 4"x 4" is fine, or even 5"x 5" if you want your completed design to be a little bigger. Then fold the paper horizontally, vertically, and both ways diagonally as shown above.
Step 2:
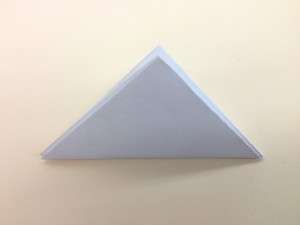
Fold the paper into a triangle by folding three times. First, fold on one of the diagonals to make a triangle. Then, fold that triangle in half. Finally, fold the next triangle in half. You should make three folds and end up with a little triangle shown above.
Step 3:
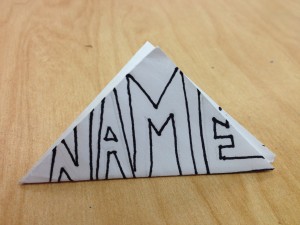
Using block letters, write your name into the triangle. Try to fill up the entire space! Bring your letters all the way up to the top and down to the bottom, and out to both sides. Notice how "name" above fills up the entire triangle.
Step 4:
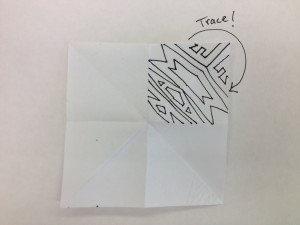
When you open your square, you will see that your name fills up only one of the eight small triangles. Fold your paper and use the name filled triangle to trace into the blank triangle next to it. You should end up with a mirror image of your name, shown above.
Step 4:
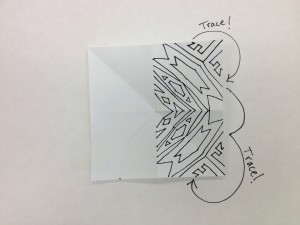
Next, fold the paper and use the two name-filled triangles on the top, to trace into the two empty triangles on the bottom, shown above. Now your design is halfway done!
Step 5:
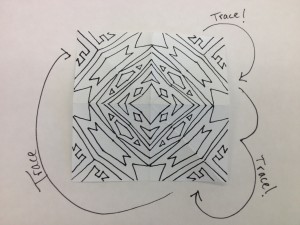
Fold the paper in half vertically, and trace the design from the finished side onto the unfinished side, so your paper is full, shown above. Now you can go into your design and join some of the edges of the letters together. This will make it look more like a design, and less like a name. Notice how the bottoms of the "M"s in "NAME" are all touching. All the bottoms of the "A"s are touching too.
Step 6:
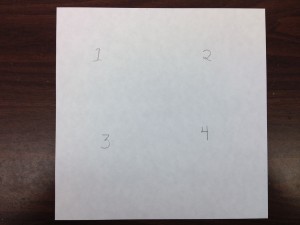
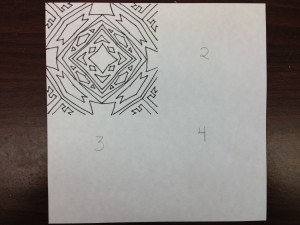
Cut a new piece of paper to exactly double the size of the original square. If your square was 4"x 4", than your paper should be 8"x 8". If your paper was 5"x 5", than your paper should be 10"x 10". You will be tracing your design four times onto the bigger paper, shown above.
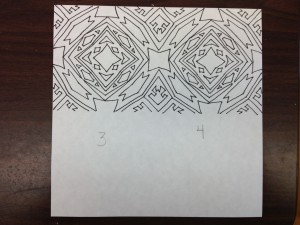
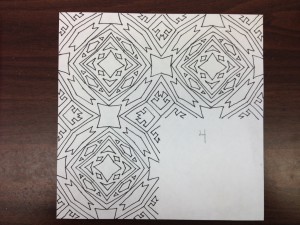
Below you will see the design traced once, tiwce, three times, and four times, until the paper is full:
Tracing over your lines with a thin Sharpie will make the design stand out and look great!
Step 7:
Add color to complete your design!
[nggallery id=1 template=carousel images=13]
